-40%
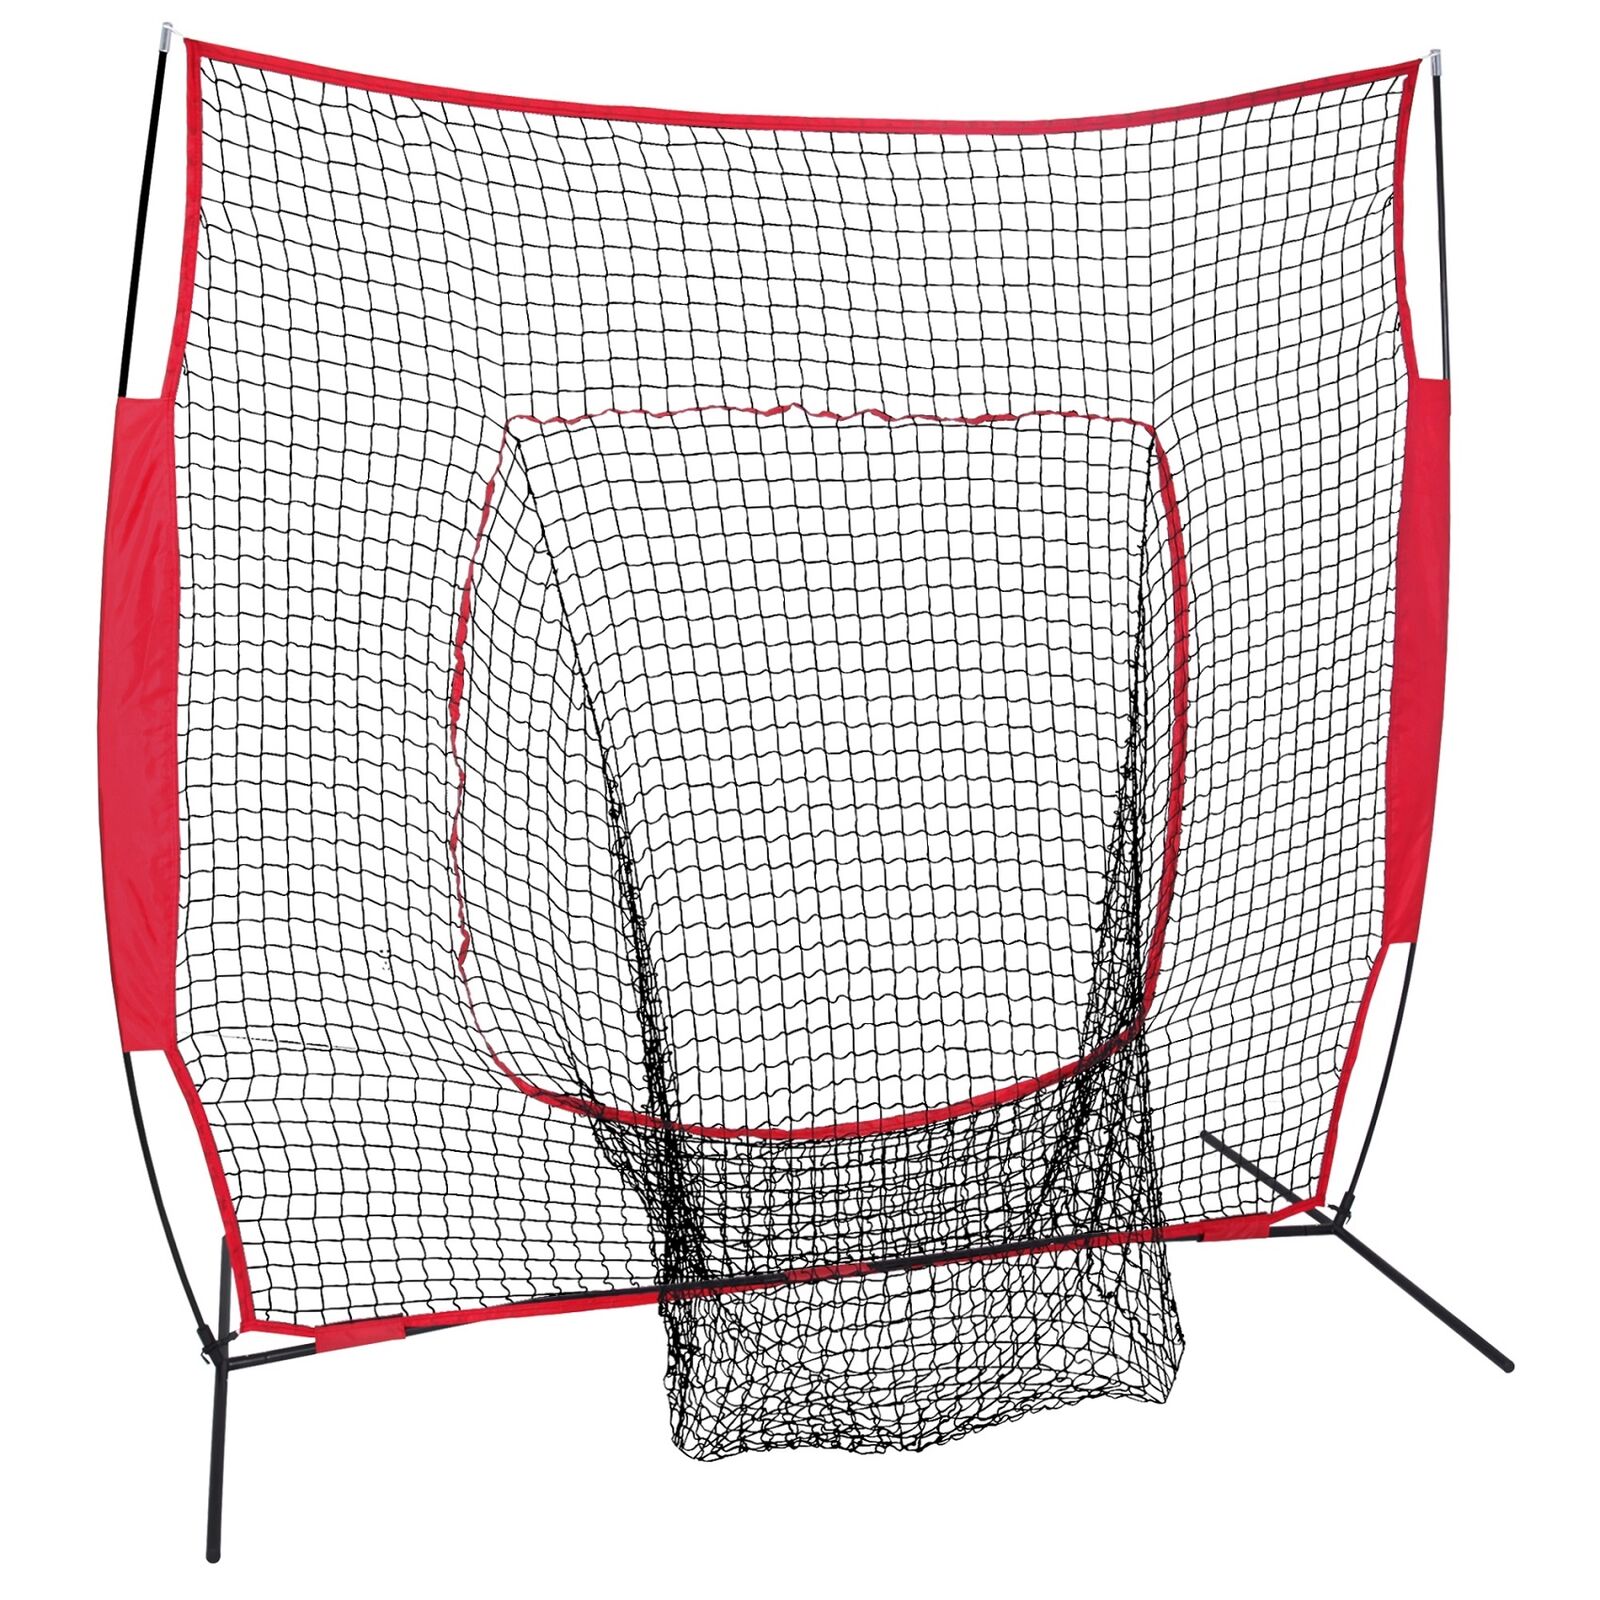
Trapezoid Batting Cage Frame Kit 12' x 12' x 55' Heavy Duty Baseball/Softball
$ 173.71
- Description
- Size Guide
Description
Visit Our eBay Store!Batting Cage Netting
Batting Cage Frame Kits
Baseball Safety Screens
Golf Cage Netting
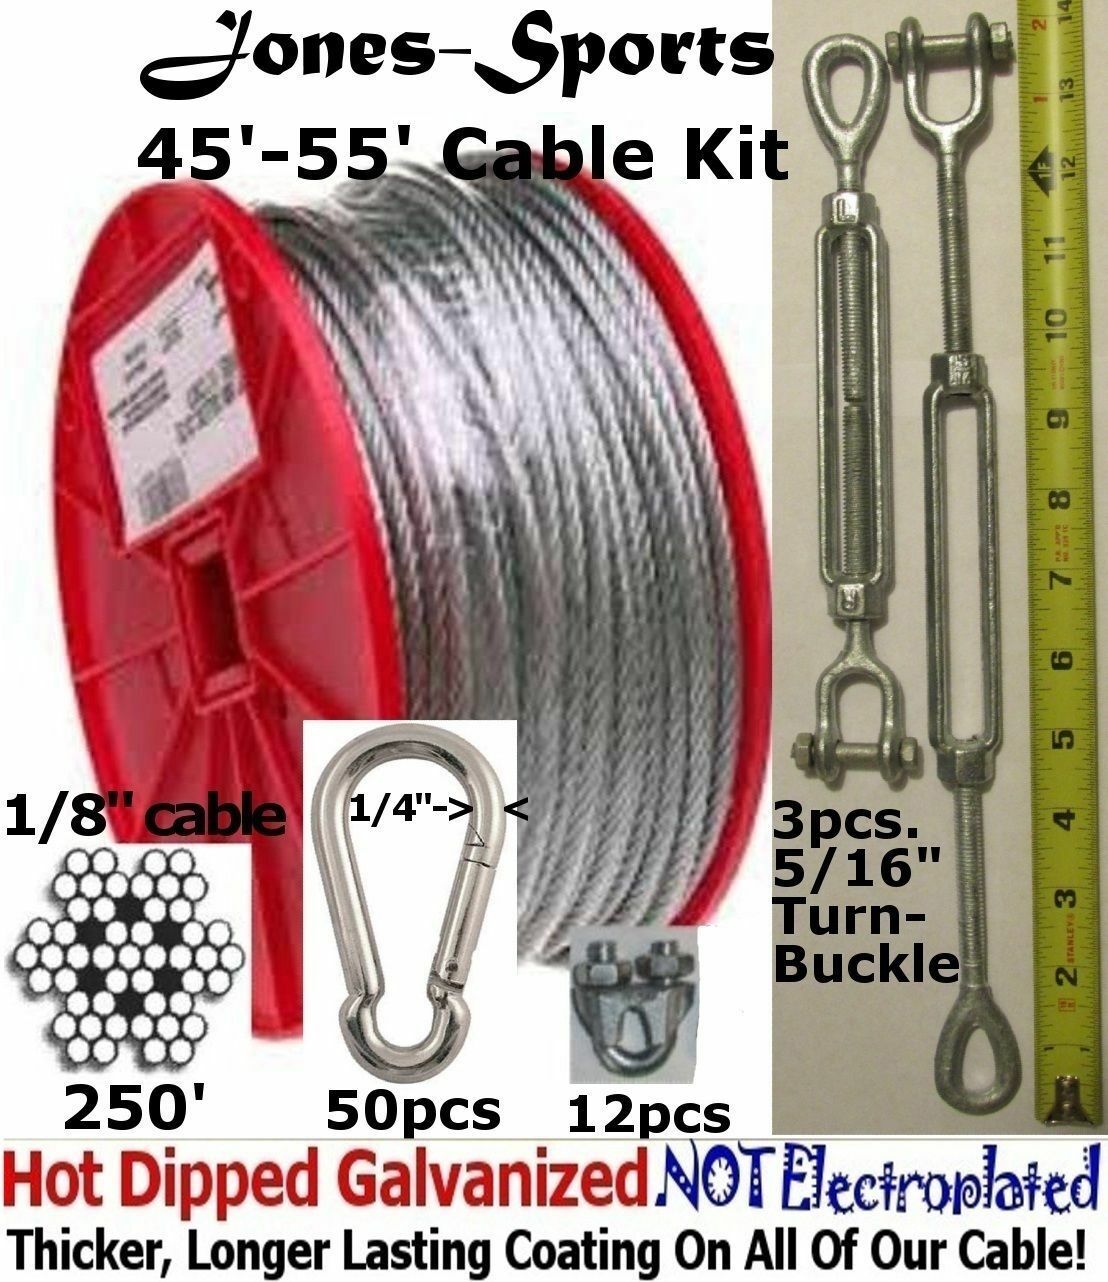
Steel Aircraft Cable
Jones-Sports
Visit Our eBay Store Today!
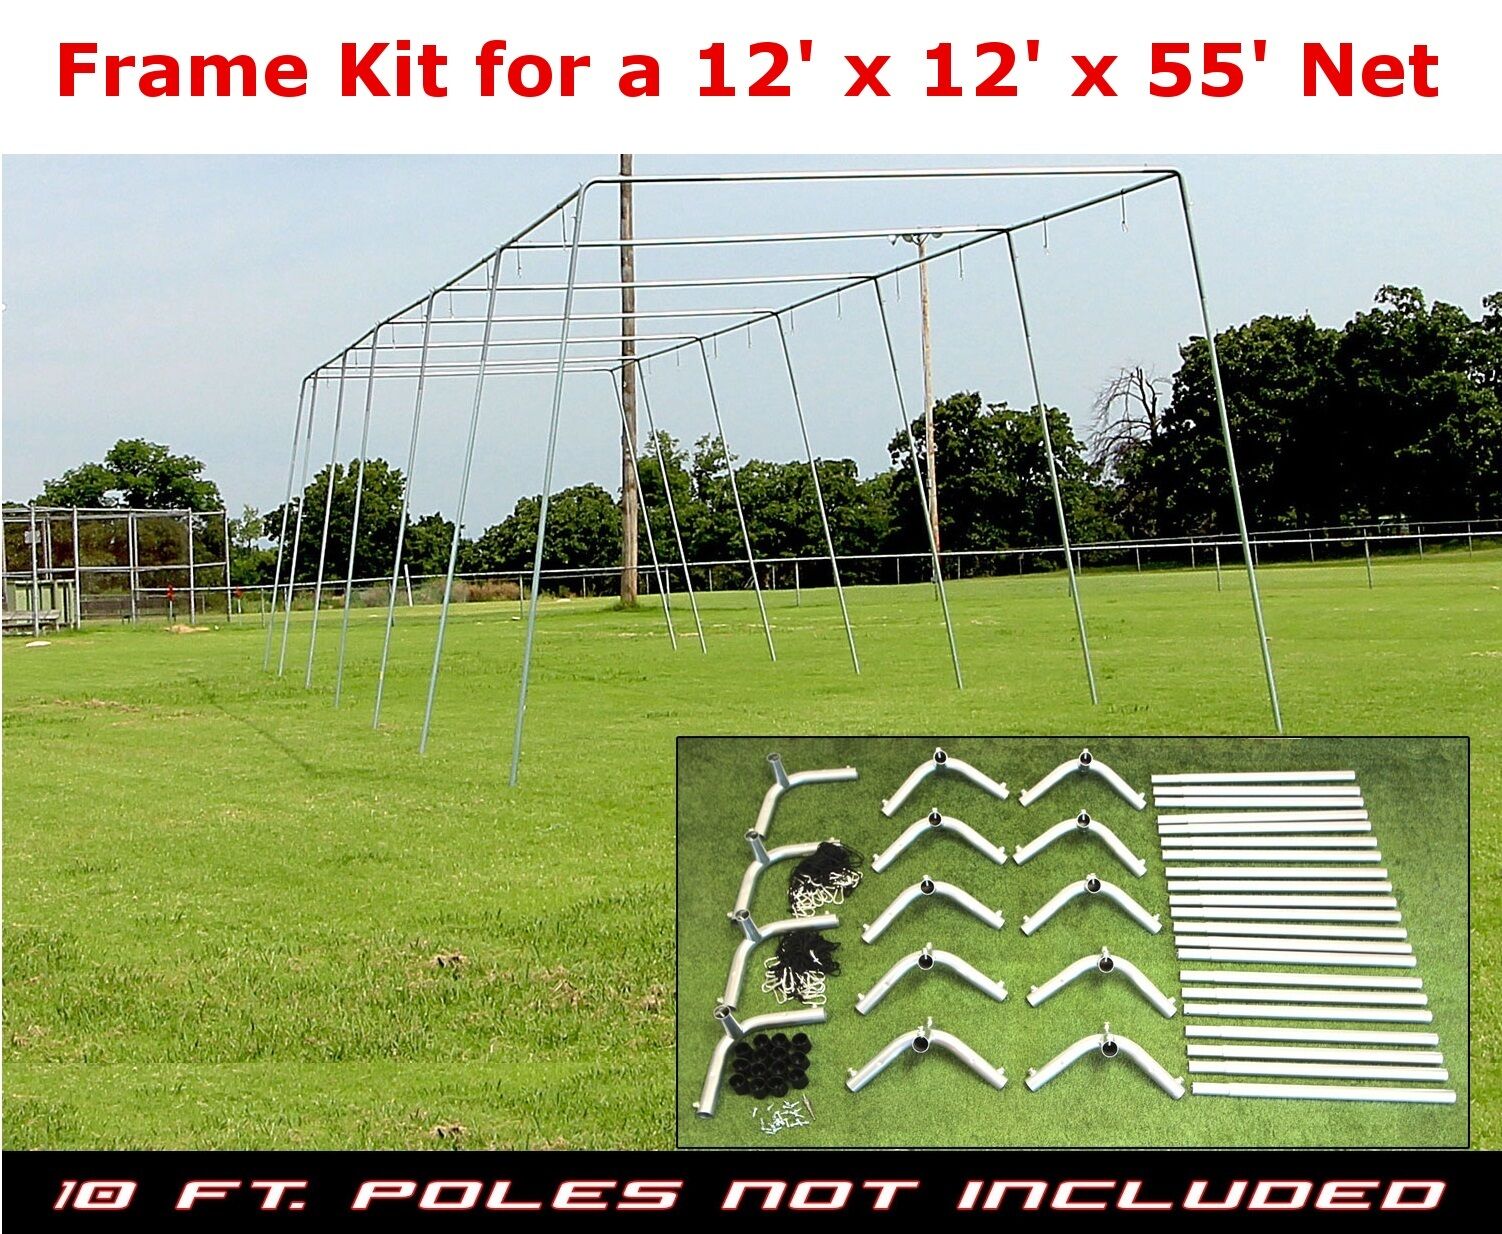
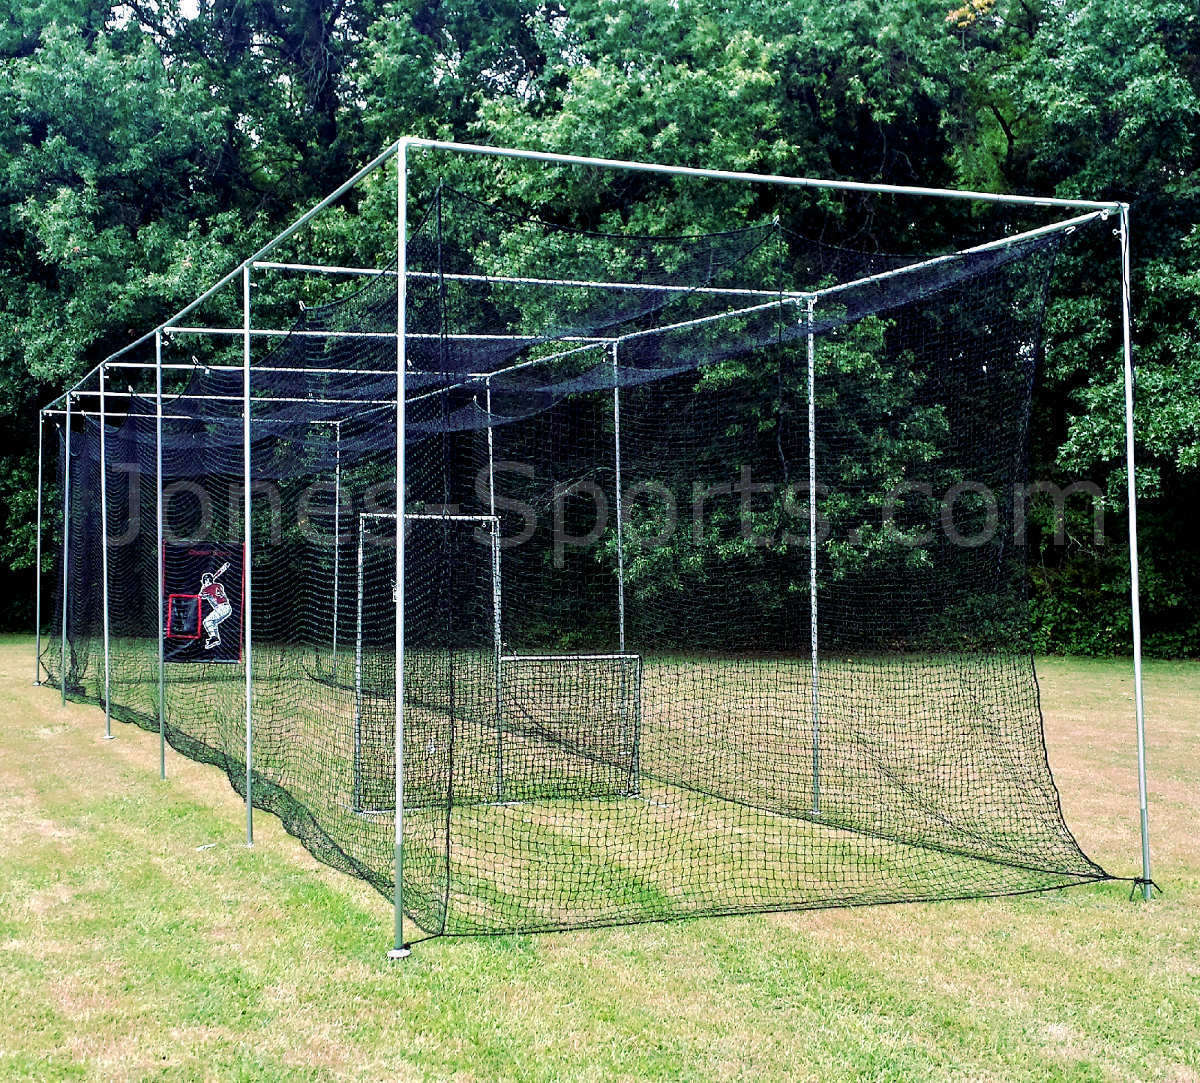
Baseball Batting Cage Frame Kit fits 12' x 12' x 55' Net
Note: The Legs should be staked or anchored down in areas where there is a possibility of moderate to high wind. Anchors are not included.
Durable 1 1/2" steel frame corners
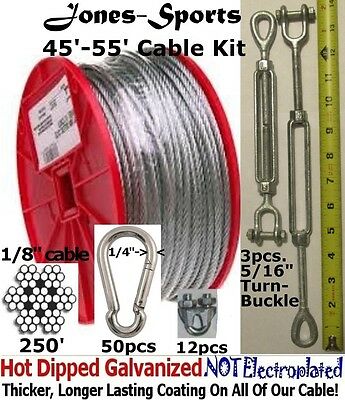
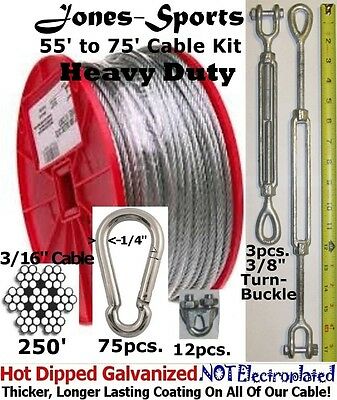
All hardware to hang your net
Save money on high shipping costs
Free standing
Indoor/outdoor use
Easy to assemble
Our 55' x 12' x 12' - 1 1/2" frame corner kit is the most economic way to hang a batting cage net in any open space. Save money on shipping by purchasing the poles at your local hardware store. Kit comes with everything you need to assemble except the poles.
You will need to purchase 32-10' poles from Lowe's or Home Depot.
Lowes Sku#-72717 or Home Depot Sku#-580023 ( 1 1/4" thin walled EMT Pipe )
Why buy from us?
We are a family business started by my grandfather over 50 years ago. We intend on being in business for another 50 years. We have over 20 years' experience with netting & have shipped to 10s of thousands of customers worldwide. We only sell quality, well made products.
Note: The Batting Cage Net & 1 1/4" EMT poles are
NOT
included with this frame kit
Installation Instructions:
Kit Includes the Following Parts:
(A) 3-Way Corners 4 pcs.
(B) 4-Way Corners 10 pcs
(C) Pipe Extensions 21 pcs.
(E) Pipe End Caps 14 pcs
(F) Self Drilling Screws 25 pcs
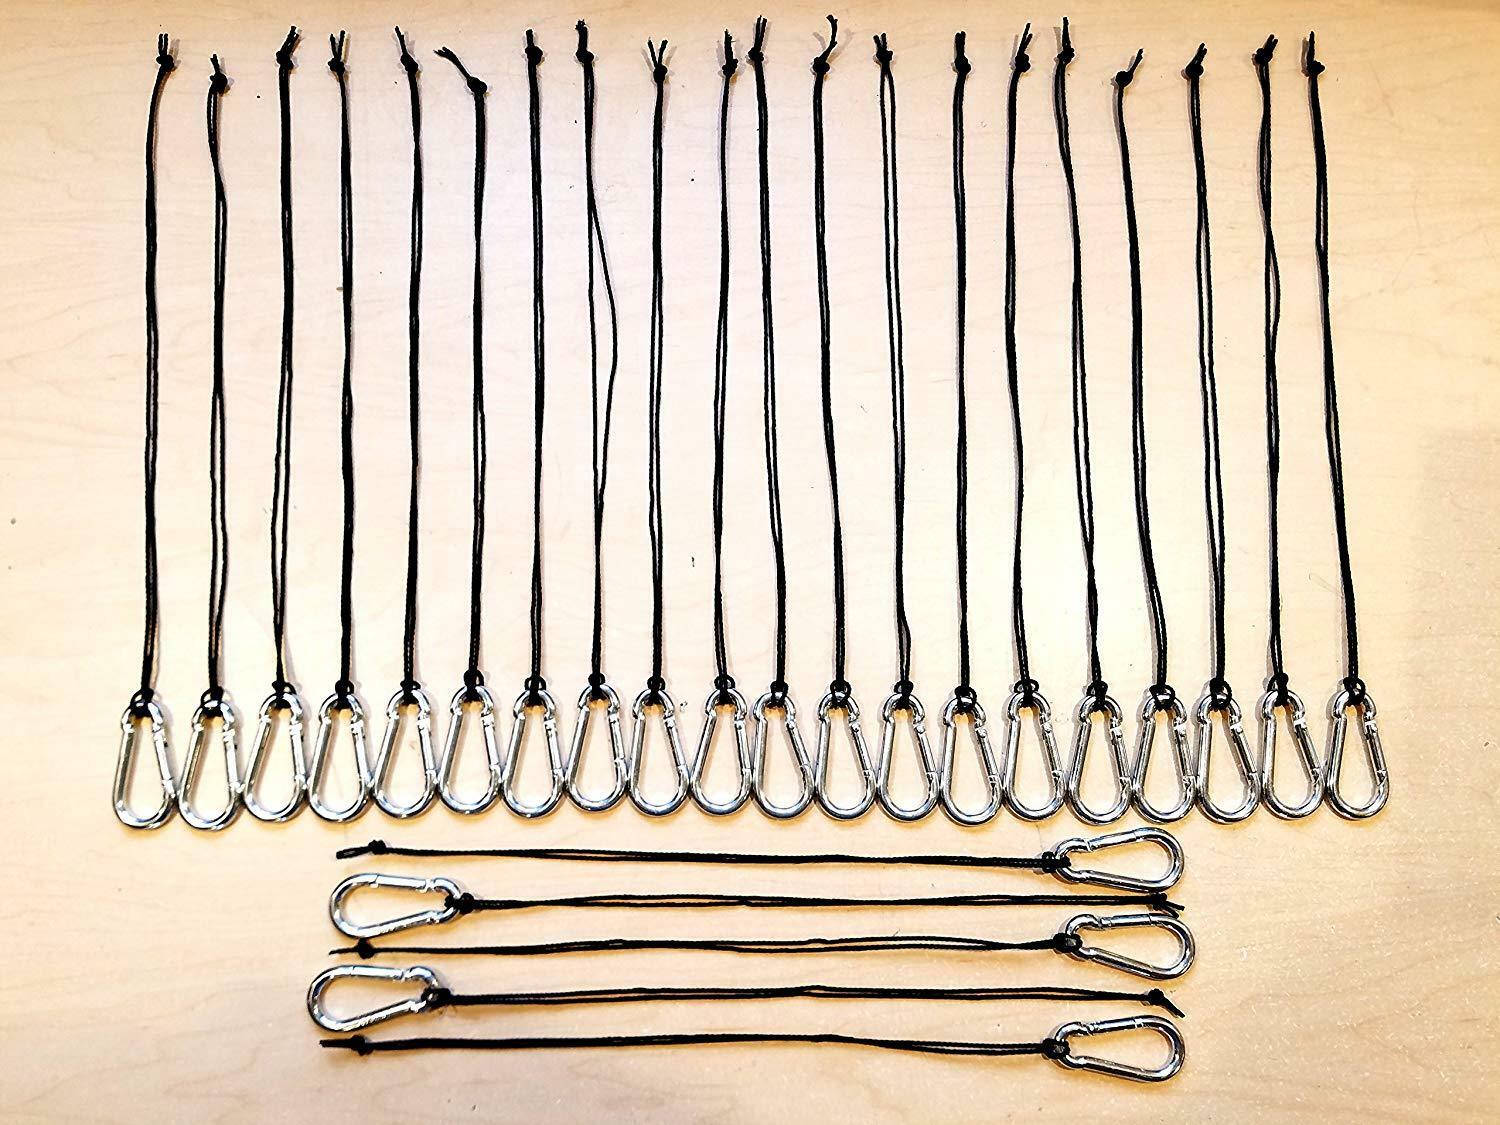
(G) Net Hangers 43 pcs
Kit Does NOT Include the Following Parts:
(CL) 10' Length of EMT 31 pcs NOT INCLUDED
(CL) 5' Length of EMT 2 pcs NOT INCLUDED
You will need an area about 58' Long & 16' Wide. It is
recommended
that you mark off this area before starting.
1. Lay out two of the 3-way end corners (A) 12' apart at one end where your frame will be, with 4" pipe pieces facing inward.
2. Measure 55' and lay out the other two 3-way end corners (A) the same way.
3. Lay out the 4-way arch corners (B), between the end arches so that they are a little more than 10' apart.
4. Assemble the seven 28" pipes (C) to seven 10' lengths for the top cross members (CL) of the arches by inserting a self drilling screw (F) into where the two pipes attach, to attach them together.
5. Assemble 28" pipes (C) to 14 of the 10' length vertical poles by inserting self drilling screws (F).
6. Assemble the arches by adding 14 of the 12' lengths (CL+C) to all of the corners (A) and (B) for the vertical legs, and the seven extended top cross members (CL) to the top of the arches.
7. Stand up one end arch and attach a 10' runner to each of the end corners. Connect the runners to the second arch. Add the rest of the runners. *The last space will be 5' instead of 10'. **You will need to cut one 10' pole in half for the end 5' section.
HANGING YOUR BATTING CAGE NET
1. Lay out your batting cage inside the frame and find the top three ropes and tie them to the end arch and then do the same to the other end.
2. Attach the hanger clips to the rope and the net together along one side of the net, then the middle, and then the other side. If you do not get the rope and the net together, it will not hold up your net. Then take the lanyard part of the hanger and tie it around the pole. At this point you can adjust how tight you want the net to hang.
3. Tie the bottom rope tails to the bottom part of the end arch legs to prevent the wind from blowing the net inward.
Visit my eBay Store for more products:
Pinnon Hatch Farms
Buyers Who Bought This Item Also Bought :
Steel Aircraft Cable Wire Rope
Turnbuckles
Pulleys
Zinc Carabiner Snap Clips
